
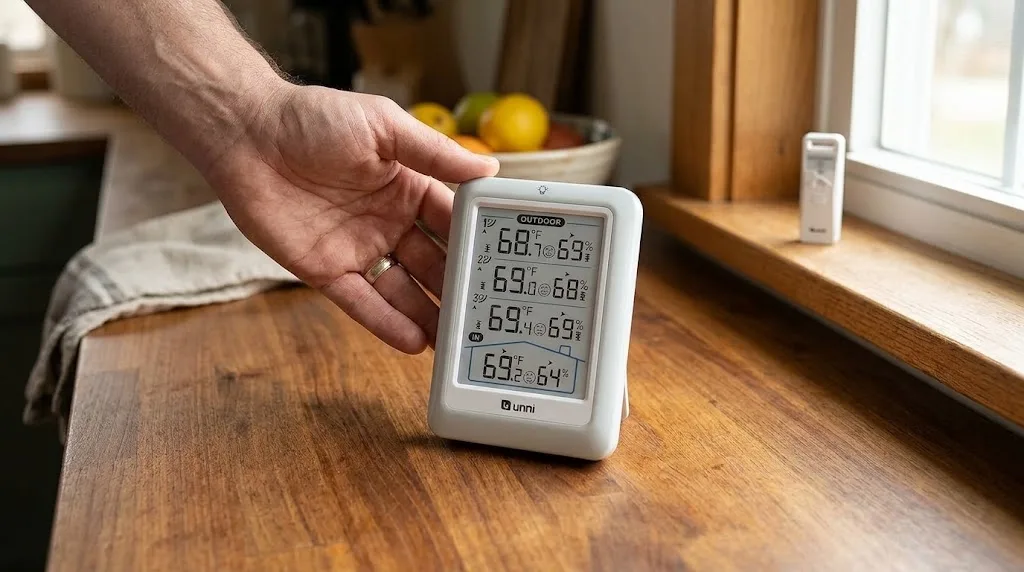
If you have ever walked to the door, opened it, and thought, “I should have checked how cold it is first,” a basic wireless indoor outdoor thermometer can help. The same idea applies to a garage, porch, or spare room: you glance at one screen instead of guessing.
This guide explains the U UNNI wireless indoor outdoor thermometer with a 4.5" display and three sensors. It is written for everyday home use, in plain steps.
You are not going to break anything by reading the screen and following the manual slowly.
Let’s make the next click the easy one.
What This Device Does (in Everyday Words)
Part | What it is | What it is for |
|---|---|---|
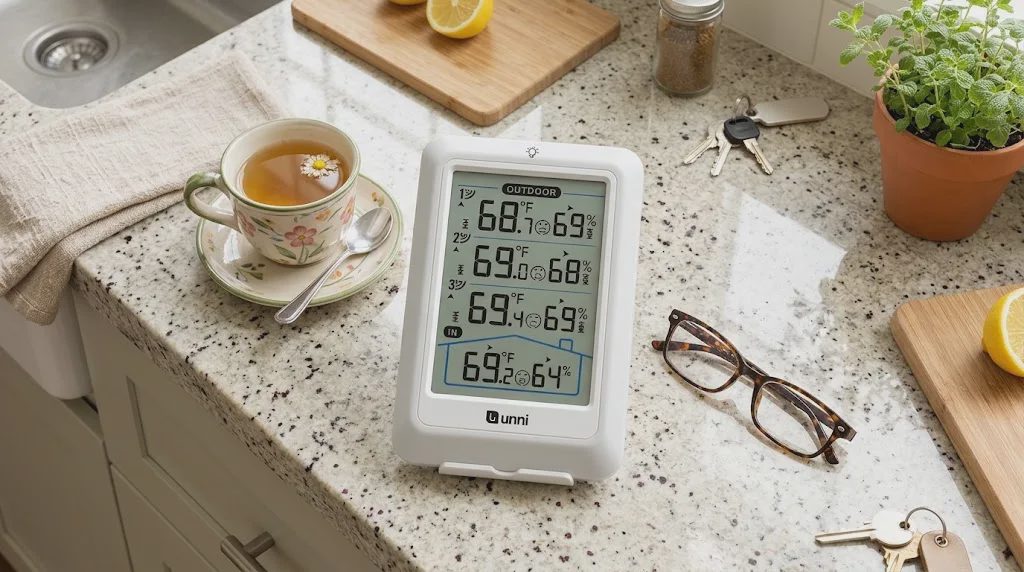
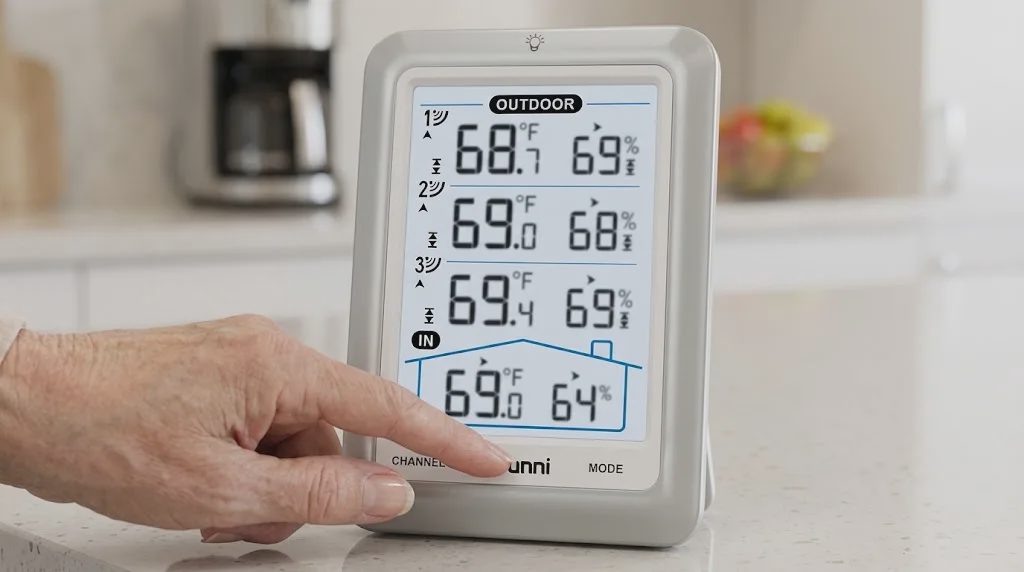
Main display | The white screen unit | Shows indoor reading plus up to three remote sensors |
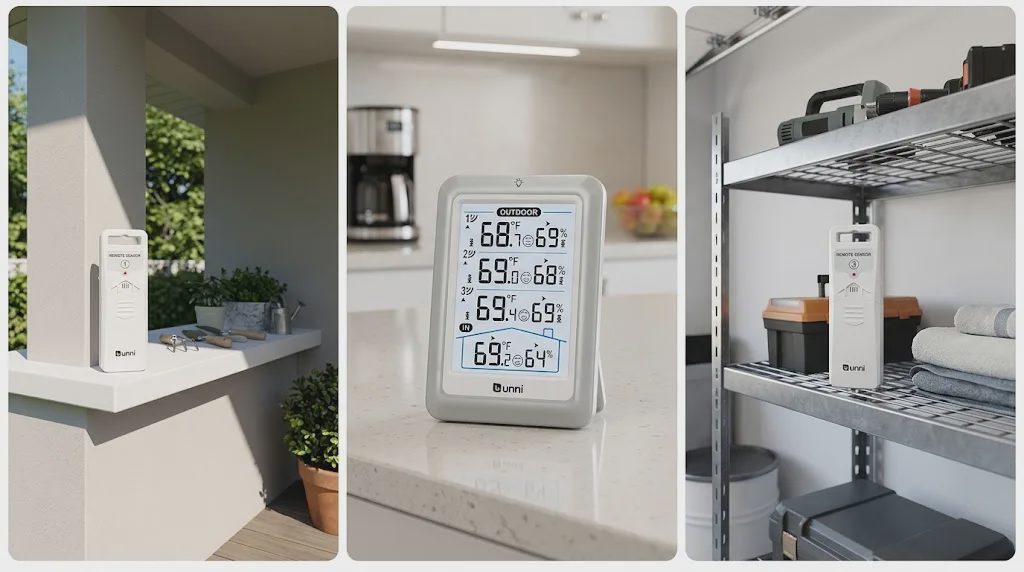
Remote sensors | Three small wireless units | Place in garage, porch, backyard, basement, etc. |
Hygrometer | Humidity measurement | Shows how moist the air is, not only temperature |
Alerts | Optional high/low warnings | Can notify you if a reading goes outside limits you set |
Power | Batteries and/or USB cable | USB can keep the backlight on more steadily |
Hygrometer simply means it measures moisture in the air (humidity), not only hot and cold.
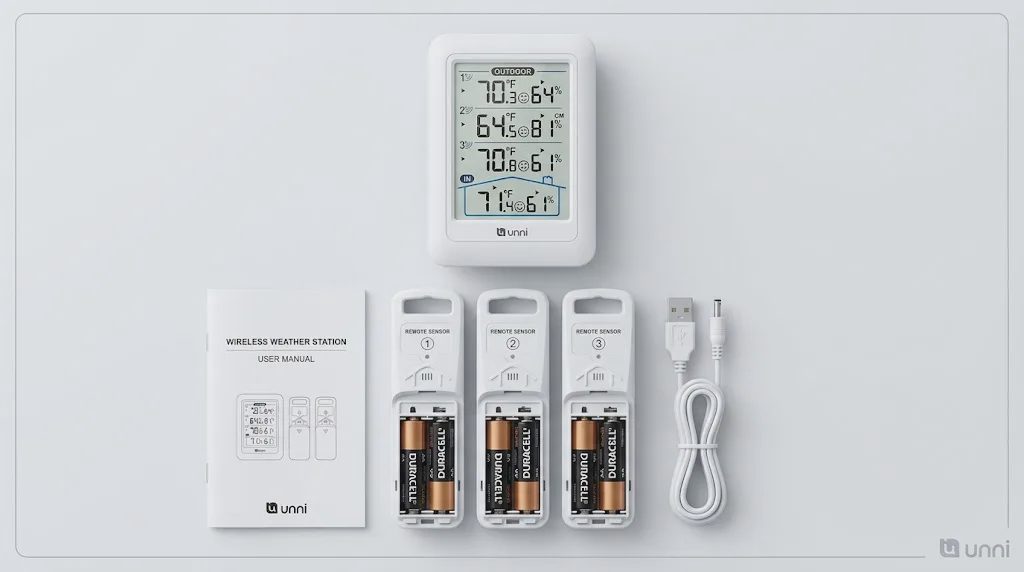
What you usually get (confirm on the product page): display, three sensors, USB cable, instruction manual, one-year warranty wording. Batteries are not included.
Why Someone Might Want One
Common reasons older adults and families choose a multi-sensor home unit:
See outdoor temperature before going out
Check a garage where food or supplies are stored
Compare a bedroom and a basement for comfort
Notice if a porch or sunroom is getting too hot or too cold
It is a glance tool, not a medical device and not a replacement for advice from a doctor or a heating professional.
Adult children often set these up during a visit, then leave the display where a parent already looks each morning—near the coffee pot or the hallway.
What Batteries Do You Need?
Buy batteries before setup day. The product does not include them.
Unit | Batteries needed |
|---|---|
Main display | 3 × AAA (or use the USB cable instead) |
Each remote sensor | 2 × AA |
All three sensors + battery-powered display | 6 × AA + 3 × AAA |
USB power on the display: Helpful if you want a steadier backlight (brightness settings may include high, low, and off—check your manual).Battery-only display: Backlight often lights only when you press a button, which saves power.
Write the location on a small label for each sensor (“Garage,” “Porch”) so nobody has to remember channel numbers later.
Setup: One Calm Path
Allow a quiet half hour the first time. Follow each step, then check the result before moving on.
Open the box and lay out the display, three sensors, USB cable, and manual.
What you should see: Everything listed above is present and undamaged.Insert AA batteries into each sensor. Close the covers firmly.
What you should see: Each sensor’s indicator light (if present) or a brief response showing it has power. Check the manual for the exact light behavior on your unit.Power the display with three AAA batteries, or plug in the USB cable, or both if the manual allows.
What you should see: The screen lights up and shows indoor temperature and humidity (or a startup message).Follow the pairing steps in the manual until each sensor appears on the screen.
What you should see: Channels 1, 2, and 3 display their readings. Check for any signal-loss indicator described in your manual.Place sensors out of direct sun and away from heating or cooling vents. Start near the display, then move them gradually.
What you should see: After a few update cycles (about 30 seconds each, according to the manufacturer), the readings continue to change normally.Set °F or °C, then set any alerts you want.
What you should see: The unit symbol matches what you chose, and any alert limits you entered are confirmed on the screen or in the menu.Choose tabletop or wall placement for the display.
What you should see: Numbers remain clear when you stand in your usual viewing spot.Watch for one day to confirm every channel still updates.
What you should see: Each remote channel shows values that change over time—not a frozen number for hours. Daily MAX/MIN values (highest and lowest) often reset every 24 hours.
What If One Sensor Does Not Connect?
If a channel stays blank or stops updating:
Check or replace the batteries in that sensor.
Move the sensor closer to the display (start within the same room if needed).
Confirm the channel number matches what the manual shows.
Follow the re-pairing steps in the booklet that came with your unit.
Only after these steps should you consider the unit or sensor may need support from the seller. A strong marketing range is not a promise for every basement or metal-roofed garage.
How Far Can the Sensors Reach?
The manufacturer lists a range of about 328–330 feet (100 m) in ideal open-air conditions. Walls, metal, glass, and building materials reduce that distance.
Practical approach for home use:
Pair and test the sensors close to the display first.
Move them outward one at a time while watching the screen.
If a reading freezes or disappears, bring that sensor closer and try again.
This method is more reliable than relying on the maximum advertised distance.
Can You Put the Display on the Wall?
Yes. The product is designed for tabletop use or wall mounting. Customer Q&A-style feedback reports that wall mounting is fine even when batteries are installed and a USB cable is connected for backlight.
Before you drill:
Choose a spot you can read straight-on (side angles can look washed out on some screens).
Keep the screen at a comfortable height—not too high if neck strain is an issue.
Use wall anchors suited to drywall or plaster.
If you use USB power, plan a safe cable path so no one trips.
Checkpoint: After mounting, stand where you normally stand. If the numbers look fuzzy from the side, move the display or change the angle—not your prescription, necessarily; the screen simply prefers a more direct view.
How Accurate Is It?
Manufacturer’s stated accuracy (verify on the page):
Temperature: about ±1.8°F to ±2°F (varies slightly by listing)
Humidity: about ±5%
Sensors described as pre-calibrated at the factory
In plain language: Close enough for daily home decisions for many people. Not a laboratory instrument.
Placement matters more than most people expect. A sensor sitting in direct sun, next to a dryer vent, or against a cold window can look “wrong” even when the device is working as designed.
If one channel disagrees with the others by a lot, change the batteries, move the sensor, and wait for a few update cycles.
Does It Have Temperature Alerts?
Yes, according to the manufacturer. You can set high and low limits so the unit can warn you when a reading goes outside the range you chose.
Typically this includes outdoor temperature and humidity alerts for the remote sensors. An audible signal and an on-screen indicator are commonly described. Exact button names, how long a beep lasts, and which channels support humidity alerts can vary—use the booklet that came with your unit.
Simple example: Set a garage alert for summer heat if you store items that should not get extremely hot. You still decide what to do; the alert only notifies you.
Stop here if your manual’s alert menu does not match these labels—follow the booklet that came with your unit.
Who This Is For — and Who Might Skip It
A good fit if you want:
One indoor outdoor thermometer and hygrometer screen
Three places monitored at once
Clear numbers on a 4.5" display (check the actual size and viewing angle yourself before buying)
Optional alerts without needing a smartphone app for basic use (confirm current features on the listing)
You might choose something else if you:
Only need one outdoor reading
Need professional calibration paperwork
Live in a layout where sensors must sit very far away behind concrete and metal
Prefer everything controlled only from a phone
At about $25.99, it sits in a moderate price band compared with similar home units often seen near 40.

A Note for Adult Children Helping a Parent
If you are setting this up during a visit:
Do the battery step together once, then write the sizes on a sticky note inside the battery drawer.
Label each sensor with the room name.
Place the display where Mom or Dad already stands in the morning.
Show how to silence an alert (follow the manual together), then write those two steps on a card by the display.
Avoid turning the visit into a lecture about “smart home systems.” This is a thermometer with helpers—nothing more.
The Bottom Line
A wireless indoor outdoor thermometer with three sensors is useful when you want clear numbers for the house, garage, and outdoors without opening every door. Wall mounting is generally workable, real-world range depends on walls and materials, batteries must be purchased separately, accuracy is home-use grade, and alerts are optional tools—not medical alarms.
Confirm the current price, included parts, and menu names on the Amazon page, then set it up once with the manual in hand.
Let’s make the next click the easy one.